There are a few skid plates for the TJ on the market that do a good job of protecting the gas tank. The reason is simple – the TJ tank is vulnerable; mostly because it’s not protected by leaf springs on either side.
I used the Tomken plate for a few years, but finally hammered to the point of no return – I couldn’t reinstall it after prying it off for a project. I talked to many professionals about his skid but decided to eliminate the problem, not just make it better. Some of them make a great skid, but it only gains an inch of clearance over the stock setup. I was looking for more.
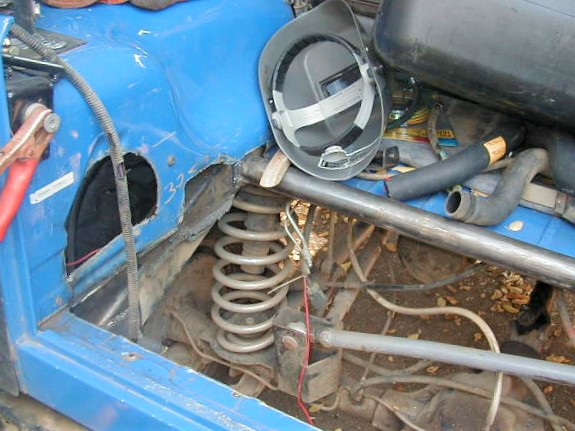
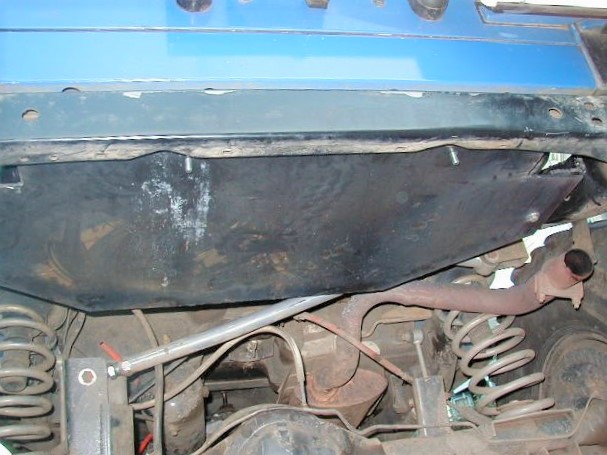
People have been trying to move the TJ tank up for a while, but get stopped by a frame cross member right in front and on top of the tank. It serves a few purposes besides strengthening the frame – it holds the tank front support, it holds the rear shocks and it holds two body mounts. To move the tank up more than an inch, this cross member has to go.
Cutting out the crossmember
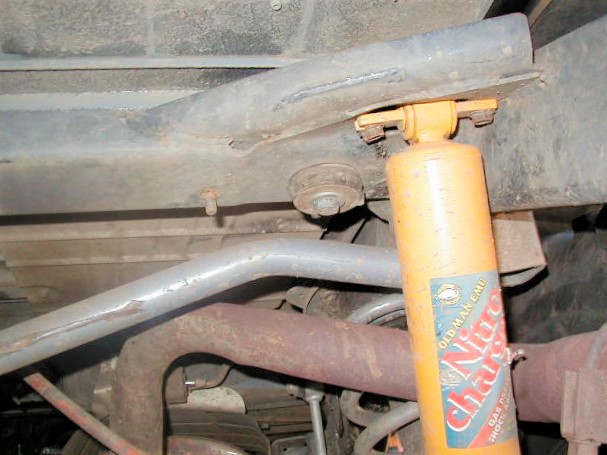
Here’s a view of the crossmember, shock mount, and body mount
Here I am cutting it out with the plasma cutter

This is the frame without the cross member
The plan was simple – cut out cross member, cut tub to fit tank, build new skid, and cover neatly. A few factors were important though – body mounts and strength most of all. Also…will I be able to fill the tank when done?
I decided to add a couple of projects to the list. I tied in the rear cage supports to the frame, cut the corners for more clearance, added a heavier rear cross member and for the heck of it installed a Jeep CJ tailgate. Tying the cage in made up for the missing body mounts.
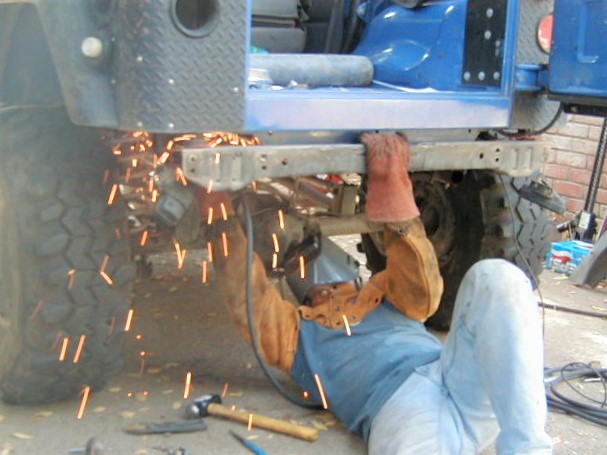
Cutting the bed to fit the tank
After measuring carefully, I cut the bed to fit the tank. Of course…I had to make the hole bigger later.
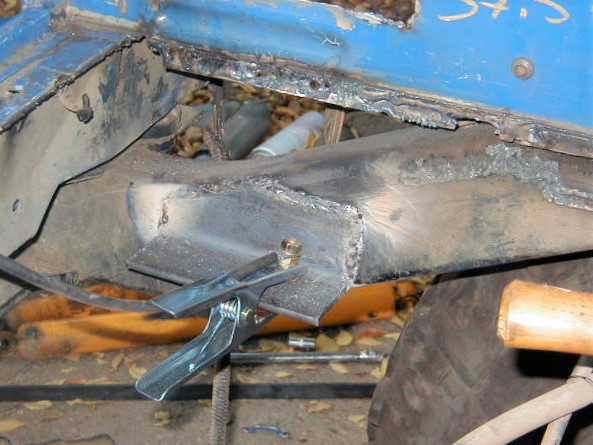
Here’s the hole for the tank, filler, and the new tube cross member that went in place of the stock one.
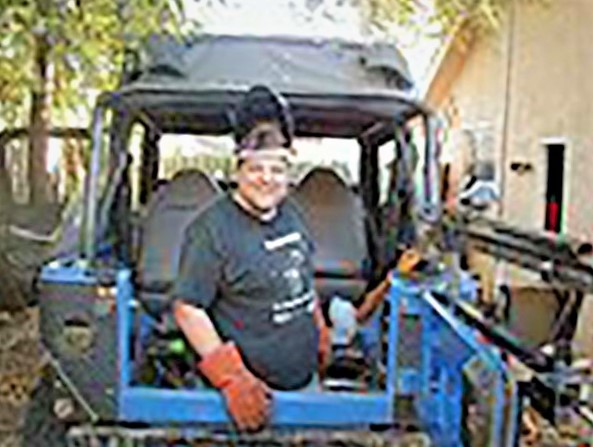
Top Stevenson was kind enough to provide his yard, electricity, and assistance for the weekend. In return, I let him stand in my tub.
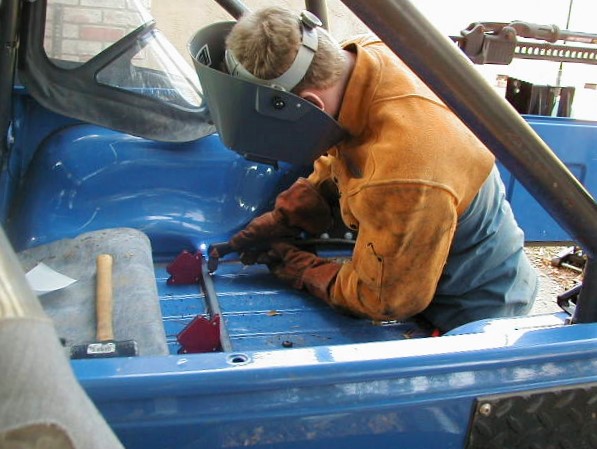
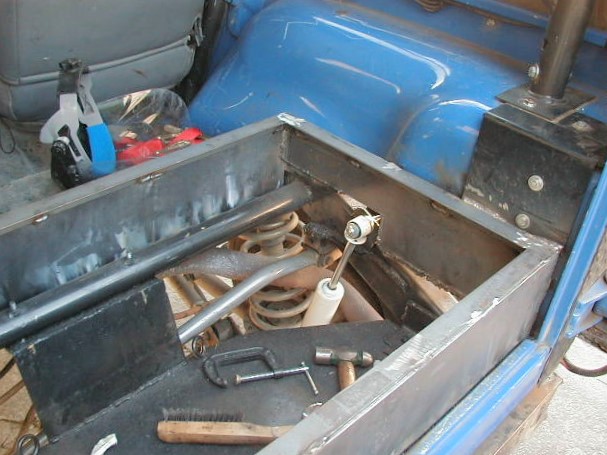
With the gas tank out, I took a bunch of measurements and laid out a basic skid design on a piece of 3/16″ plate. Mike came up with a great idea for the rear mount of the skid and we started in on it. The plan was to have the tank fully accessible from the bottom with just a couple of bolts (like stock). Didn’t turn out that way, but it still works great.
I’ll skip ahead… The reason the bottom access to the tank didn’t work is because it won’t drop down through the filler holes – it hangs up. This is fine because we came up with a better option later.
Attaching the front mounts to the new crossmember
A piece of 1/4″ angle is a nice bracket for each side of the skid. We welded nuts to the top side of it so a single wrench can drop the skid from the bottom.
The front mounts are similar to the rear and attach to the new crossmember. I didn’t want to attach the front of the body because of flex.
A view from the bottom once installed. The bolts coming through in the back are eye-bolts for the ‘new’ tank straps. These were welded and cut off.
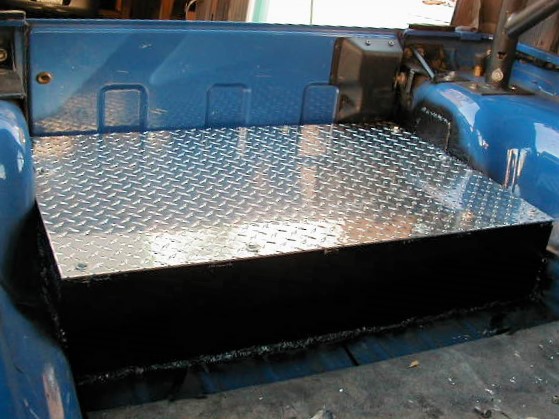
The last piece to build was the new cover for the tank. I wanted to protect the tank from things in the cab, but more importantly, I wanted to keep exhaust gases out. I used 1/8″ steel for the sides, angle for the top bracket, and 1/8″ diamond plate aluminum for the top (to save weight).
The top is bolted on without 10 hex bolts and sealed with RTV. The tank goes in and out through the top now, and all maintenance is easily done from above. I don’t have to fear changing a fuel pump anymore.
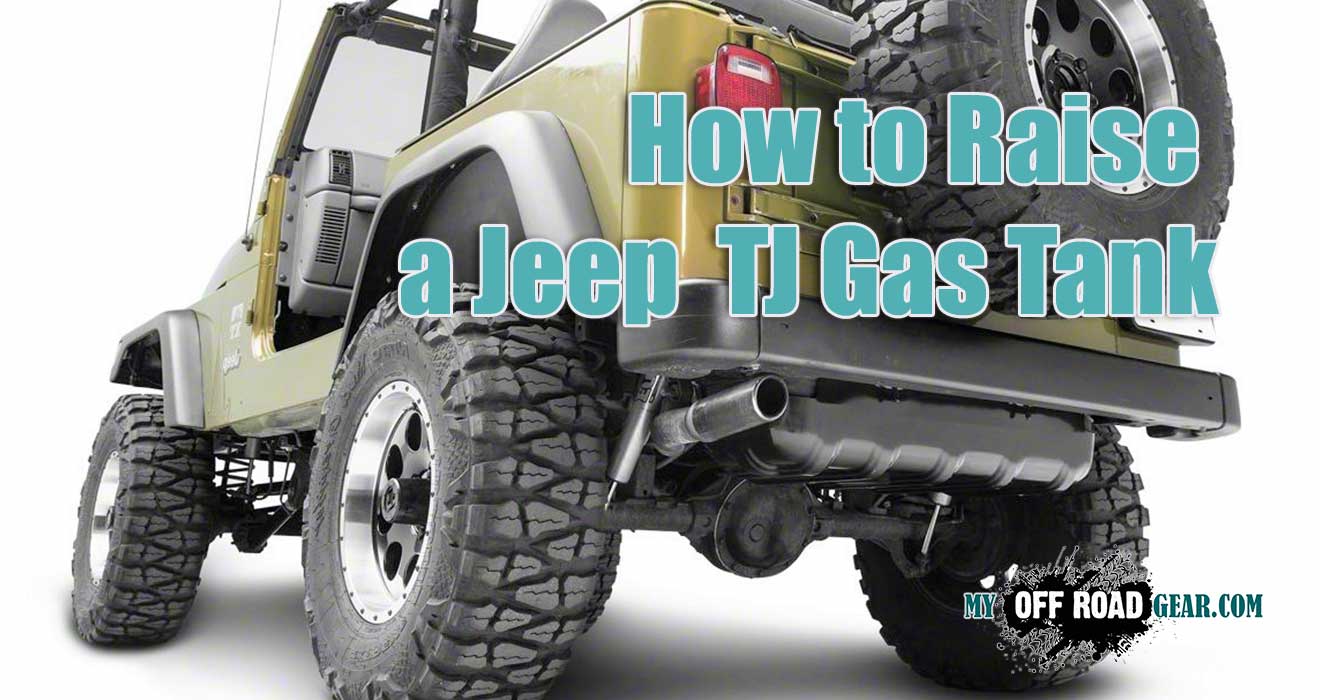
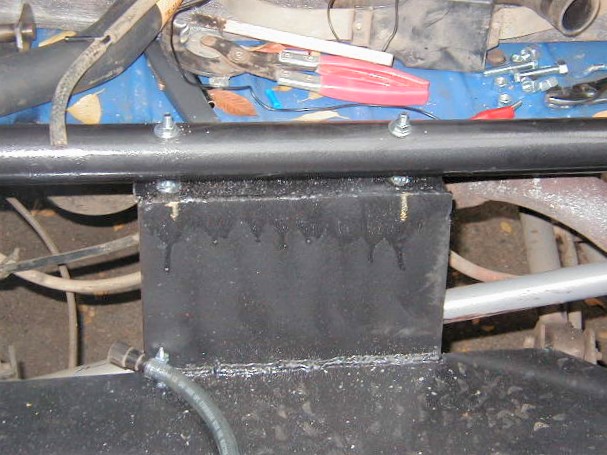
Mounting the shocks
The shocks are now mounted to brackets on top of the frame. This works, but I’m going to make a bracket that will mount them higher.
Cargo space has been compromised, but I still have plenty of room for all the gear for a weekend on the trail.
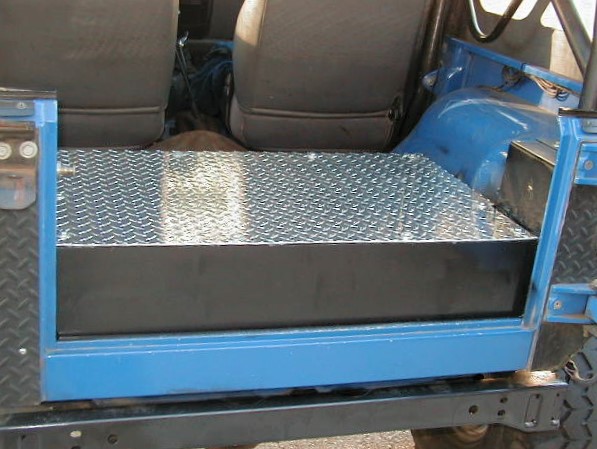
The finished product. Came out nicely I think. At some point, I’ll get some countersunk bolts for the cover.
It turned out great, and I haven’t had any problems filling the gas tank. The added clearance is fantastic.
I hope that answers all the questions I’ve been getting.
Add Comment