Why install tunning boards? Well, they do several things for you. First, they protect your doors from parking lot dings. Second, they help protect your body’s sides from dings and scrapes on the trail. Third, they give you places all along the rocker panels to lift your Jeep with your trusty Hi-Lift Jack.
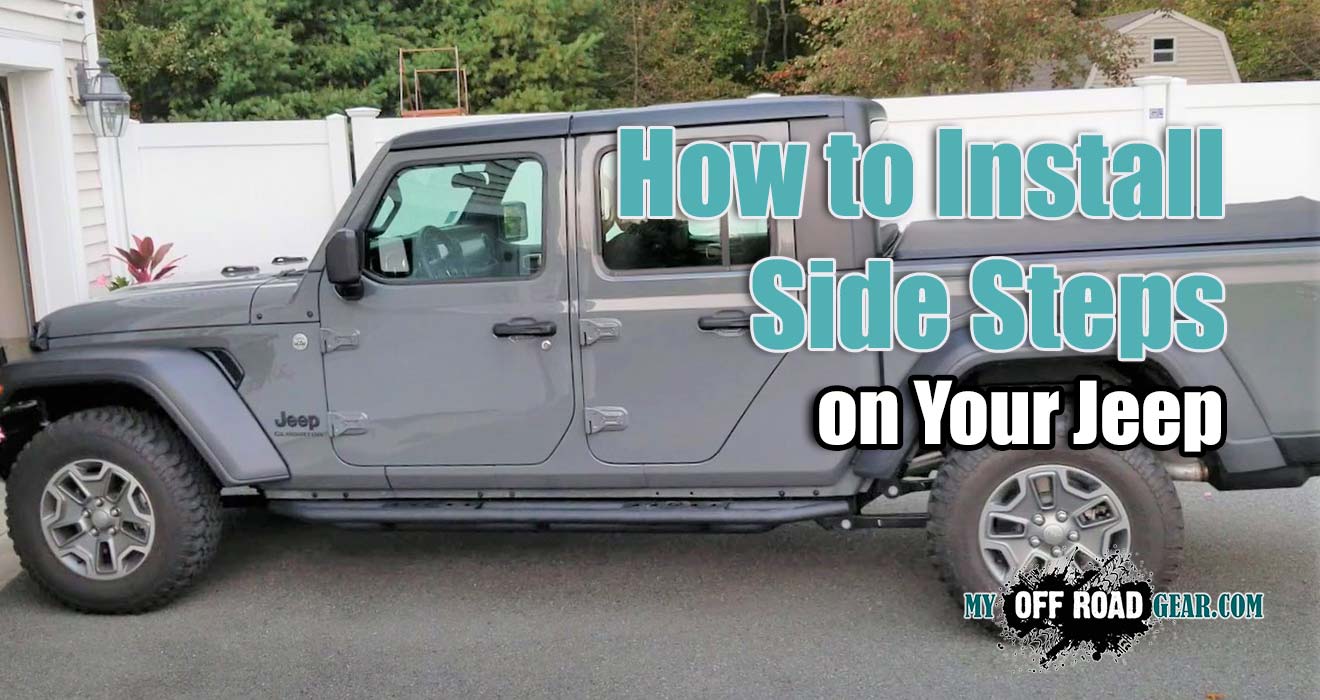
Installing running boards on your Jeep not only enhances its functionality but also adds a touch of personalization. Running boards serve as a convenient step for easier entry and exit from your Jeep, especially for lifted models. Additionally, they provide a layer of protection to your vehicle’s sides from road debris and obstacles. By following the steps outlined in this article, you’ll be able to install running boards on your Jeep without any hassle.
Choosing the Right Running Boards
Before you start the installation process, it’s essential to choose the best running boards for your Jeep . Consider factors such as style, material, durability, and compatibility with your specific Jeep model. There are various types of running boards available, including stainless steel, aluminum, and textured rubber. Choose a style that complements the overall aesthetics of your Jeep and ensures a secure stepping surface.
Tools and Materials Needed
To install running boards on your Jeep, you will need the following tools and materials:
- Running board kit (including brackets and hardware)
- Screwdriver or drill
- Socket set
- Torque wrench
- Measuring tape
- Marker or pencil
- Level
- Rust-preventive spray or paint (if required)
- Preparing Your Jeep
Before beginning the installation, prepare your Jeep by cleaning the mounting area thoroughly. Remove any dirt, debris, or rust from the rocker panels, as this will ensure a secure attachment for the running boards. It’s also a good idea to measure and mark the position where the running boards will be mounted, ensuring proper alignment and clearance.
- Removing the Existing Step (If Applicable)
If your Jeep already has a factory-installed step or running boards, you will need to remove them before installing the new running boards. Carefully follow the manufacturer’s instructions or consult a Jeep specialist to ensure a safe removal process. Once the existing step is removed, clean the mounting area and proceed to the next step.

For those of you afraid to install bolt-on nerf bars, here are a few secrets. I recently bought running boards for my Jeep Gladiator. These bolt-ons the frame with six self-tapping bolts on each end and center of the bar.
Here are a few techniques to help make your installation successful.
Mounting the Running Boards
Place Your Nerf Bars on the Cinderblocks
The trick in getting the bar installed correctly is to align it exactly where you want it before you start marking holes. This is easy to do by supporting the nerf bar on each end with layers of cinder blocks, bricks, and cardboard. If you don’t have cinderblocks, use books or something else. Use layers of cardboard to move the nerf bar up or down by fractions of an inch until it’s just right.

When you are satisfied, mark the center of the upper inside two bolt holes with a pencil, double-check, then center punch the holes and put the bar back up and triple check.
- Mount the nerf bar back on your supports and start each bolt
Now mount the nerf bar back on your supports and start each bolt. The self-tappers are tough to go in, so use a torque wrench until tapped, then use your regular socket wrench. Use a piece of your cardboard to protect the finish when you screw these inside bolts in.
Mount the nerf bar back on your supports and start each bolt
Now mount the nerf bar back on your supports and start each bolt. The self-tappers are tough to go in, so use a torque wrench until tapped, then use your regular socket wrench. Use a piece of your cardboard to protect the finish when you screw these inside bolts in.
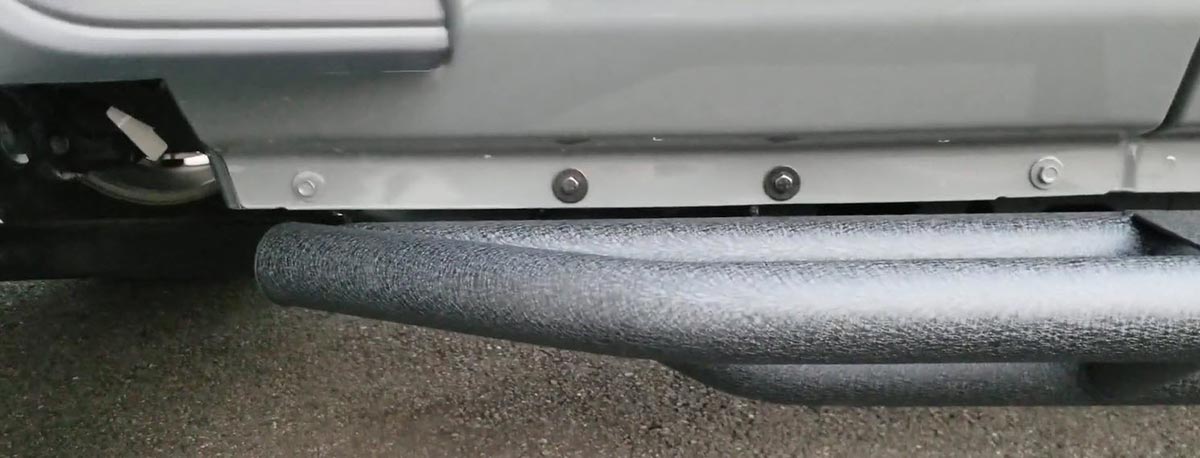
Once the side steps are installed with two bolts, it is a simple matter of center punching the other two holes exactly in the center and screwing in the bolts.
That’s it. Now do the other one. Once you get it aligned against the frame, also compare it to the other side. It may look the same on the frame but could look slightly different from the chassis.
The final product: side steps installed
Word of warning: Don’t torque these bolts down. Hand tightens with your normal socket wrench. I tried to torque them down and sheared the head off the first bolt at about 60 ft-lbs.Not to worry though: if you manage this trick, then remove the nerf bar, drill a hole in the bolt for the largest suitable extractor, extract it and get another bolt. The Smittybilt uses 3/8 inch self-tappers (and I suspect other nerf bar makers have the same bolt suppliers). You can find these possibly at your local 4×4 store, or a hardware store with a well-stocked bolt room.
Hope this helps. It really isn’t difficult and will save you the $80 or so a 4×4 shop will charge you to do it.

Add Comment